

Costume in a sentence: EVA foam cosplay starts best with one forearm bracer: 4mm foam, a tape pattern taken off your own arm, fresh blades, heat-forming on the low setting, contact cement in a cross-ventilated room, then sealer and flexible paint. The whole kit, tools included, came to $99.60 at two chain stores this month.
This is EVA foam cosplay for beginners built around one piece you can finish in a weekend: a thickness chart in millimeters and inches, real shelf prices, every step, and safety rules from the glue’s data sheet and the heat gun’s manual.

EVA foam cosplay at a glance
EVA is short for ethylene-vinyl acetate, an elastomeric copolymer that also turns up in interlocking floor tiles and hot glue sticks, according to Wikipedia’s ethylene-vinyl acetate entry. In EVA foam cosplay that means a sheet you can cut with a knife, curve with hot air and glue into armor. The whole EVA foam cosplay bracer fits on one table.
| Step | What you use | Done when |
|---|---|---|
| Pick thickness | 4mm sheet, 2mm offcut for trim | Foam bends around your forearm by hand |
| Pattern | Plastic wrap, painter’s tape, marker, paper | Paper test piece clears elbow and wrist |
| Cut | Snap blade knife, metal ruler, cutting mat | Edges are square and smooth |
| Heat-form | Heat gun on low | Piece holds the arm curve once cool |
| Glue trim | Contact cement, gloves, open windows | Layers bonded, room aired out |
| Seal and paint | Rubber spray coating, flexible paint | No bare foam showing, edges included |
Which EVA foam sheets work for cosplay armor?
For a first bracer, buy 4mm foam. It curves around a forearm with a little heat but still feels like a plate, not a placemat. Keep 2mm offcuts for raised trim and save 6mm or thicker for pieces that stand off the body, like shoulders.
The confusing part of EVA foam cosplay shopping is the units: cosplay suppliers sell millimeters, hardware stores inches. This chart lines them up (listings checked October 1, 2026).
| Thickness | Roughly | Where you see it | What it suits |
|---|---|---|---|
| 2mm | 5/64 in | Craft foam sheets, 2 to 6mm at craft stores | Trim, raised borders, rivet-like dots |
| 4mm | 5/32 in | Michaels 24 x 60 in roll, $12.99 | Bracers, belts, collars: the beginner default |
| 6mm | 1/4 in | Same roll in 6mm; the foam seller FoamOrder calls 1/4 in its workhorse armor thickness | Sturdier forearm plates, shin guards |
| 8mm | 5/16 in | Harbor Freight EVA roll mat, 24 x 72 in, $11.99 | Shoulders, chest plates, smooth side up |
| 12.7mm | 1/2 in | Harbor Freight EVA tile set, four 25 in squares, $12.99 in store | Big flat plates; too stiff for a slim bracer |
Real EVA foam cosplay builds land in the same range. Emily Joice made the arm bracers in her Cosplay Advice bracer tutorial from 4mm foam because it molds easily and still holds structure, and says she reaches for 4mm on almost any armor. Kaylee Godley went heavier on a pair of bracers in her Kaylee Makes build log, stacking two layers of 5mm high density foam.
Floor mats are the budget route for EVA foam cosplay. Popverse’s foam guide puts interlocking mats at 10 to 12mm, less dense and textured on the back. With a budget near zero, cardboard armor is the cheaper alternative for stiff, flat shapes.
What tools do you need for EVA foam cosplay?
You need a sharp knife with spare blades, a metal ruler, a cutting surface, a heat gun, contact cement with gloves, a sealer and paint. Bought new at Harbor Freight and Michaels on October 1, 2026, the full EVA foam cosplay kit for one bracer came to $99.60, or $79.61 if a kitchen cutting board stands in for the mat.
Prices come from both store websites that day, localized to Oregon; your shelf may differ. Brands are named only to help you find the item.
| Item | Store | Price | Type |
|---|---|---|---|
| 1500 watt dual-temperature heat gun | Harbor Freight | $19.99 | Tool |
| Large snap blade utility knife (2 spare blades in the handle) | Harbor Freight | $2.69 | Tool |
| 18mm replacement snap blades, 10-pack | Harbor Freight | $1.99 | Consumable |
| 11 oz rubber spray coating, black | Harbor Freight | $9.99 | Consumable |
| 5 mil nitrile gloves, 100-pack | Harbor Freight | $12.99 | Consumable |
| 4mm foam roll, 24 x 60 in | Michaels | $12.99 | Consumable |
| 3 oz original contact cement | Michaels | $9.99 | Consumable |
| 2 oz metallic acrylic paint | Michaels | $2.99 | Consumable |
| 1 in knit elastic | Michaels | $5.99 | Consumable |
| Cutting mat, self-healing | Michaels | $19.99 | Tool (optional) |
That’s $42.67 of tools you keep and $56.93 of supplies you’ll use up. Tape, plastic wrap, a marker, paper and a ruler come from the junk drawer. As a worked example, two bracers cut as front and back halves of about 10 by 6 inches use roughly 240 square inches, a sixth of the roll’s 1,440.
How do you make a cosplay armor pattern with paper and tape?
Wrap your forearm in plastic wrap, cover it with painter’s tape, and draw the bracer shape on the tape. Cut the tape shell off along a seam line, flatten it onto paper, trace it, and tape the paper copy back around your arm. When the paper fits, the foam will too.
That’s how to make cosplay armor for any body part, and EVA foam cosplay beginners learn it fastest on a forearm: a simple curve, and a mistake costs one sheet of paper.
- Wrap. Plastic wrap first so tape never touches skin, then two overlapping layers of painter’s tape.
- Draw. Mark the wrist line, a line two finger widths below the elbow crease, and seams down the inside and outside of the arm.
- Split it. Two halves, front and back, let the bracer pass over your hand later.
- Cut and flatten. Slice along the seams with blunt scissors and snip darts where the halves won’t lie flat.
- Trace and test. Trace both halves onto paper, cut them out, tape them back on, and bend your elbow and wrist. Trim anything that digs in.
- Label. Write left, right and top on every piece. Mirror images fool everyone once.
One catch with layered EVA foam cosplay trim: on a curve, the top layer has to be slightly bigger than the base, because the base layer’s thickness pushes it outward. Mikaela Holmes explains this in her beginner foam lesson on Instructables and cuts each new layer against the already-curved piece instead of a flat pattern. Pick one signature detail for the trim, the silhouette-first idea from our solo DIY Halloween costume guide.
How do you cut EVA foam without jagged edges?
Use a blade sharp enough to glide, hold it straight up so the edge stays square, and cut through in one smooth pass along a metal ruler. Snap off a fresh segment the moment the knife drags. Most ragged EVA foam cosplay edges come from a dull blade and stop-and-start cutting, not from the foam.
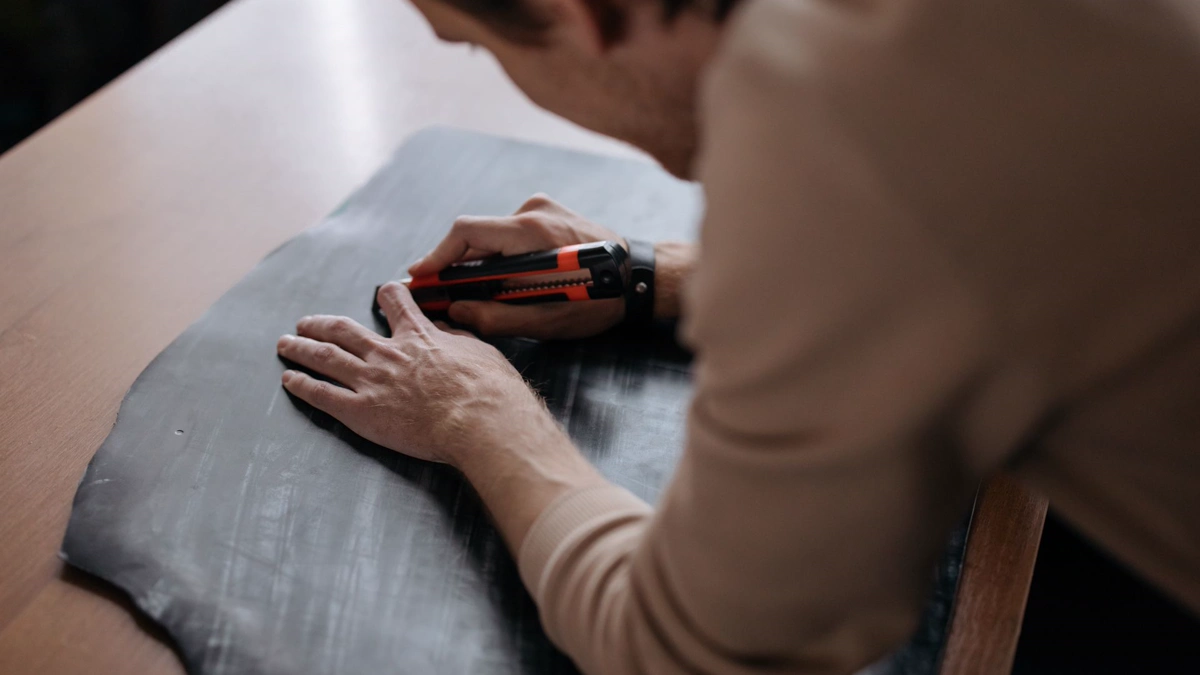
A sharp blade is also the safer blade. OSHA’s hand and power tools booklet says knives and scissors must be sharp because dull tools can cause more hazards than sharp ones, and the CPSC Art and Craft Safety Guide warns that worn tools behave unexpectedly.
- Surface: a mat or scrap cardboard, never your lap.
- Grip: the hand holding the foam stays behind the blade’s path, not beside it.
- Angle: 90 degrees, unless you want a bevel.
Holmes swaps blades the moment one stops sliding through with little effort, far more often than you’d expect for soft foam. In r/CosplayHelp, one reply to a new foam builder named the four buys that improve foam work most: a cutting mat, a sharpening stone, a heat gun and a metal ruler. A reply in a beginner tips thread added that scrap foam can hone an edge if you run the blade almost flat against it.
How do you heat-form EVA foam armor safely?
Set the heat gun to low, let it warm up, and keep it moving over both sides of the piece until the surface turns slightly shiny. Then switch off and hold the foam curved over your sleeved forearm until it cools and keeps the shape. Never aim the gun at your arm, and never heat-form near wet contact cement.
Heat turns flat EVA foam armor into a shaped piece. The owner’s manual for the gun in the tool list sets the rules:
- Low setting: 700°F maximum, for mild jobs including plastic bending and shaping. High reaches 1000°F, far more than foam needs.
- Keep moving: excess heat in one spot makes fumes you breathe, and gases from heated plastics can be flammable, so keep a fire extinguisher at hand.
- Hot nozzle: it stays hot enough to burn during use and for some time after. Rest it nozzle up on a flat surface; cool it on an insulated, non-flammable one.
- Attention: never point it at people or animals; unplug it before you leave.
How long does EVA foam cosplay armor need under the gun? Holmes holds the gun about 4 inches away for roughly 30 seconds per side before shaping by hand. Joice notes the warm piece can feel unpleasantly hot on bare skin, so wear a sleeve. One more pass over the curved face heat-seals it.
Here’s the order rule this EVA foam cosplay guide is built on. The heat gun is a heat source, and the next step uses a glue whose data sheet calls its vapor extremely flammable. Shape first, unplug the gun, let it cool, carry it out of the room, and only then open the glue.
How do you glue EVA foam with contact cement?
Brush a thin, even coat of contact cement on both surfaces, wait until it looks dry and feels tacky, then press the pieces together once, because the bond grabs on contact. Glue curved pieces while they’re curved. Work with windows and doors open, gloves on, and every flame and heater switched off.
Contact cement is the standard glue for EVA foam cosplay, and the label is the part people skip. The safety data sheet for DAP Weldwood Original Contact Cement (revised April 12, 2022) carries a Danger signal word and says:
- Extremely flammable liquid and vapor. Vapors can flow along surfaces to a distant ignition source and flash back.
- Switch things off. Put out all flames and pilot lights, and turn off stoves, heaters, electric motors and other ignition sources during use and until all vapors are gone.
- Cross-ventilation. Open all windows and doors to get fresh air moving during application and drying.
- Your nose is not a gauge. Odor is not an adequate warning for hazardous conditions.
- Protection. Gloves, eye protection, out of children’s reach.
The CPSC guide defines adequate ventilation as clean air flowing toward you and dirty air flowing away; a fan that only stirs a closed room is not ventilation. For EVA foam cosplay at home, a garage with the door up beats a closed bedroom.
Joice waits about five minutes for the cement to turn tacky; Holmes waits for the wet shine to disappear, then lets glued pieces cure at least 24 hours in a well-ventilated spot. Line the trim up first; you get one shot.
How do you seal and paint a foam bracer?
Seal the foam first so paint sits on top instead of soaking in, then add color in thin coats of a paint that flexes. A rubber spray coating is a common EVA foam cosplay sealer: spray it outdoors, let it dry, then brush on metallic acrylic and paint every edge, not only the face.
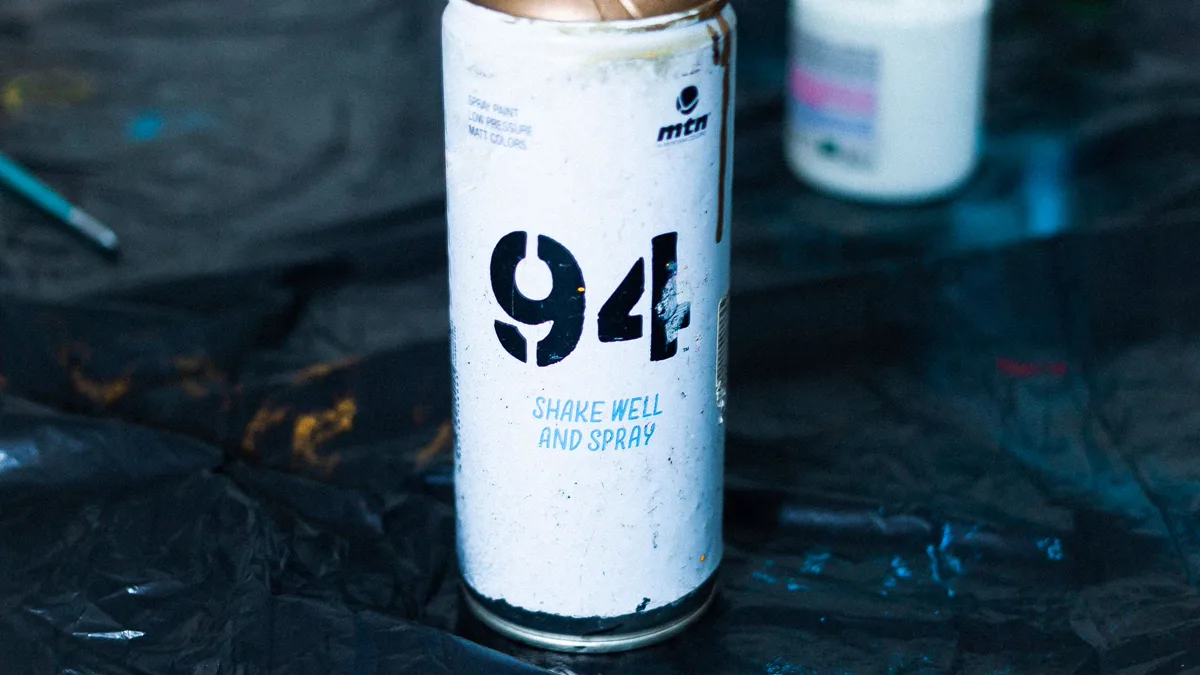
The Plasti Dip spray safety data sheet classes it as a flammable aerosol under pressure and says to use it only outdoors or in a well-ventilated area, away from heat, sparks and flame. So no spraying beside the cooling heat gun.
Godley’s EVA foam cosplay routine fits that label. She filled seams with caulk, then sprayed three coats of black rubber coating outside, each piece taped to a cardboard handle so she could turn it without touching the wet surface, in disposable gloves. Flexible metallic paints came next. Joice paints the visible face plus every edge, with flexible acrylics so nothing cracks when the foam bends.
- Seal: two or three light coats outside, drying between coats as the can directs.
- Base coat: one thin layer of metallic acrylic; thin layers flex better.
- Depth: brush a darker color into recesses and wipe the raised areas.
- Edges: run the brush along every cut edge so no raw foam shows from the side.
How do you fit and wear a foam bracer?
EVA foam doesn’t stretch, so a closed tube won’t slide over your hand. Build the bracer as two halves joined with short elastic straps glued inside, or leave one seam open with a hook-and-loop closure. Then test it: bend the elbow, bend the wrist, and pull it on and off five times.
Joice spells out the stretch problem in her tutorial and solves it with front and back halves joined by four short pieces of elastic, hot-glued inside. With hook-and-loop tape instead, the halves must overlap.
- Elbow: fully bent, the top edge doesn’t dig into the crease.
- Wrist: bent up and down, the bottom edge clears the back of your hand.
- Hour test: wear your EVA foam cosplay bracer an hour before the event.
Once one EVA foam cosplay bracer survives the hour, cut its mirror twin from the same labeled pattern. Planning the rest? Our four-week plan for your first cosplay covers the character, the budget and con day.
By the numbers
- $99.60 buys the full EVA foam cosplay bracer kit new: $47.65 at Harbor Freight plus $51.95 at Michaels, checked October 1, 2026.
- $12.99 buys a 24 x 60 inch roll of 4mm foam, about six pairs of bracers by the worked example above.
- 700°F is the maximum on the heat gun’s low setting, the one its manual names for plastic bending and shaping.
- Minus 20°C (minus 4°F) is the minimum flash point on the contact cement’s safety data sheet, which is why every flame goes off first.
- 15 to 40% of that contact cement is toluene by weight, per the same sheet.
- 24 hours is how long Holmes lets glued EVA foam cosplay pieces cure before moving on.
Remy’s verdict on EVA foam cosplay
EVA foam cosplay is the best first armor material for most people: cheap, forgiving and fast to fix. A bad cut costs one sheet, a bad curve can be reheated, and a bracer teaches every core skill in a piece small enough to finish. Start with one, not a suit; the skills carry straight into your next piece of EVA foam cosplay armor.
The weak spot isn’t the foam. It’s the room. Contact cement and a heat gun are a bad mix in a closed space, so give them separate turns, open the windows, and read the labels first. Want more first builds? Browse the beginner cosplay section.
Stuck mid-build?
Quick EVA foam cosplay answers for the moment the pieces are cut, the heat gun is cooling on the table, and a doubt creeps in.
Can you use a hair dryer instead of a heat gun?
Sometimes, for thin foam and gentle curves. In a beginner thread, one reply said most hair dryers don’t get hot enough to heat seal foam. Skip the gas stove for EVA foam cosplay: the contact cement data sheet lists stoves and pilot lights as ignition sources to switch off.
Is hot glue okay for EVA foam?
For small jobs, yes. Holmes uses it for edge-to-edge joins and Joice for elastic tabs. For laminating one layer onto another, Joice picks contact cement, partly because it won’t melt when the heat gun passes over.
Can you use hardware store floor mats for armor?
Yes. Interlocking mats are EVA too, just thicker, less dense and textured on one side, so they suit large EVA foam cosplay plates more than a slim bracer. Keep the smooth side facing out.
How long does a first foam bracer take?
Plan two sessions for your first EVA foam cosplay piece. Pattern, cut, shape and glue in the first, let the cement cure overnight, then seal, paint and add straps in the second, with drying time between coats.
Can kids help with an EVA foam build?
Keep them on the pattern and paint steps. The CPSC guide says children through grade 6 should not use products with cautionary labels or solvent-based glues; this contact cement contains toluene and says keep out of reach of children.
How we researched this: Materials list and order of steps: standard craft-store and hardware-store items, with safety wording taken from the contact cement and sealer safety data sheets, the heat gun’s owner’s manual and the CPSC and OSHA guides below, and prices from Harbor Freight and Michaels pages checked October 1, 2026. The first pass came from an AI tool and was rewritten step by step.
Sources: contact cement data sheet, heat gun manual, spray coating data sheet, CPSC Art and Craft Safety Guide, OSHA hand and power tools, Wikipedia, Popverse, FoamOrder, the store pages above, Harbor Freight roll mat and tile set listings, and build write-ups by Emily Joice, Mikaela Holmes, Kaylee Godley and two r/CosplayHelp threads.